Blog Layout

Exploring the Key Parts of a Toilet

Jul 31, 2023

Unlocking the Mystery: Exploring the Key Parts of a Toilet

The toilet: a ubiquitous fixture found in homes, offices, and public spaces worldwide. We encounter it daily, yet seldom pause to appreciate the engineering marvel behind its seemingly simple design. A well-functioning toilet is essential to modern sanitation and comfort, and understanding its key parts can shed light on the inner workings of this indispensable invention. In this blog, we will take a journey through the anatomy of a toilet and explore its vital components.


1. Bowl: The Throne of Comfort The bowl is the heart of the toilet, the place where everything happens. Made from durable ceramic materials, the bowl is contoured to ensure comfort and proper waste disposal. Its design allows for efficient flushing and cleaning, preventing the accumulation of residue and bacteria. Modern bowls often feature a water-saving design, contributing to eco-friendly practices and reducing water consumption.


2. Tank: The Reservoir of Power The tank, also known as the cistern, is located at the back of the toilet bowl and houses the water needed for flushing. When the toilet is not in use, the tank is quietly refilling, preparing for the next flush. Upon pressing the flush lever, the tank's stored water rapidly enters the bowl, creating a strong force that washes away waste. Over the years, tanks have undergone improvements in design, with dual-flush options becoming popular, allowing users to choose between a partial or full flush, depending on the need.


3. Flush Valve: The Gateway to Cleansing The flush valve is a critical part of the flushing mechanism. It is a rubber or plastic stopper at the bottom of the tank that lifts when you press the flush lever. This action releases the water from the tank into the bowl, initiating the flush. Once the water empties from the tank, the flush valve reseals the tank, preventing further water flow until the next flush is activated.


4. Flapper: The Seal of Integrity Working in conjunction with the flush valve, the flapper is a movable component that covers the flush valve opening. When the flush lever is pressed, the flapper lifts, allowing water to flow into the bowl. After the flush is complete, the flapper falls back into place, forming a water-tight seal. Ensuring the flapper is in good condition is crucial to prevent water wastage due to leaks and to maintain the toilet's efficiency.


5. Fill Valve: The Fountain of Replenishment The fill valve, also known as the ballcock, is responsible for refilling the tank with water after each flush. As the tank's water level drops during flushing, the fill valve opens, allowing water from the supply line to enter the tank. Once the water reaches the appropriate level, the fill valve shuts off to prevent overfilling. Older toilets often used a float ball attached to the fill valve, while modern ones use a float cup or a floatless fill valve that operates on a pressure-sensing mechanism.


6. Flush Handle or Button: The Initiator of Action The flush handle or button is the user interface for activating the flush. It connects to the flush valve, triggering the flushing process when pushed or pressed. Over the years, flush handles have evolved from simple levers to more sophisticated buttons, adding an aesthetic touch to modern toilet designs.


7. Trapway: The Hidden Exit Route Beneath The toilet bowl lies the trapway, a curving pathway that leads to the drainpipe and sewage system. Its purpose is to create a water seal that prevents foul odors from entering the bathroom while still allowing waste to be flushed away effectively. The trapway is typically coated with a glaze to facilitate smooth waste passage and prevent clogs.


Understanding these key parts of a toilet demystifies its operation and enables us to appreciate the engineering and ingenuity that goes into this essential fixture. Regular maintenance and care are crucial to ensure the longevity and efficiency of a toilet, and knowing how these components work together can help diagnose and resolve common issues.


So, the next time you use the toilet, take a moment to acknowledge the brilliance of its design, quietly working behind the scenes to provide us with modern comfort and sanitation. The toilet truly is an innovation that deserves our appreciation.
15 Apr, 2024
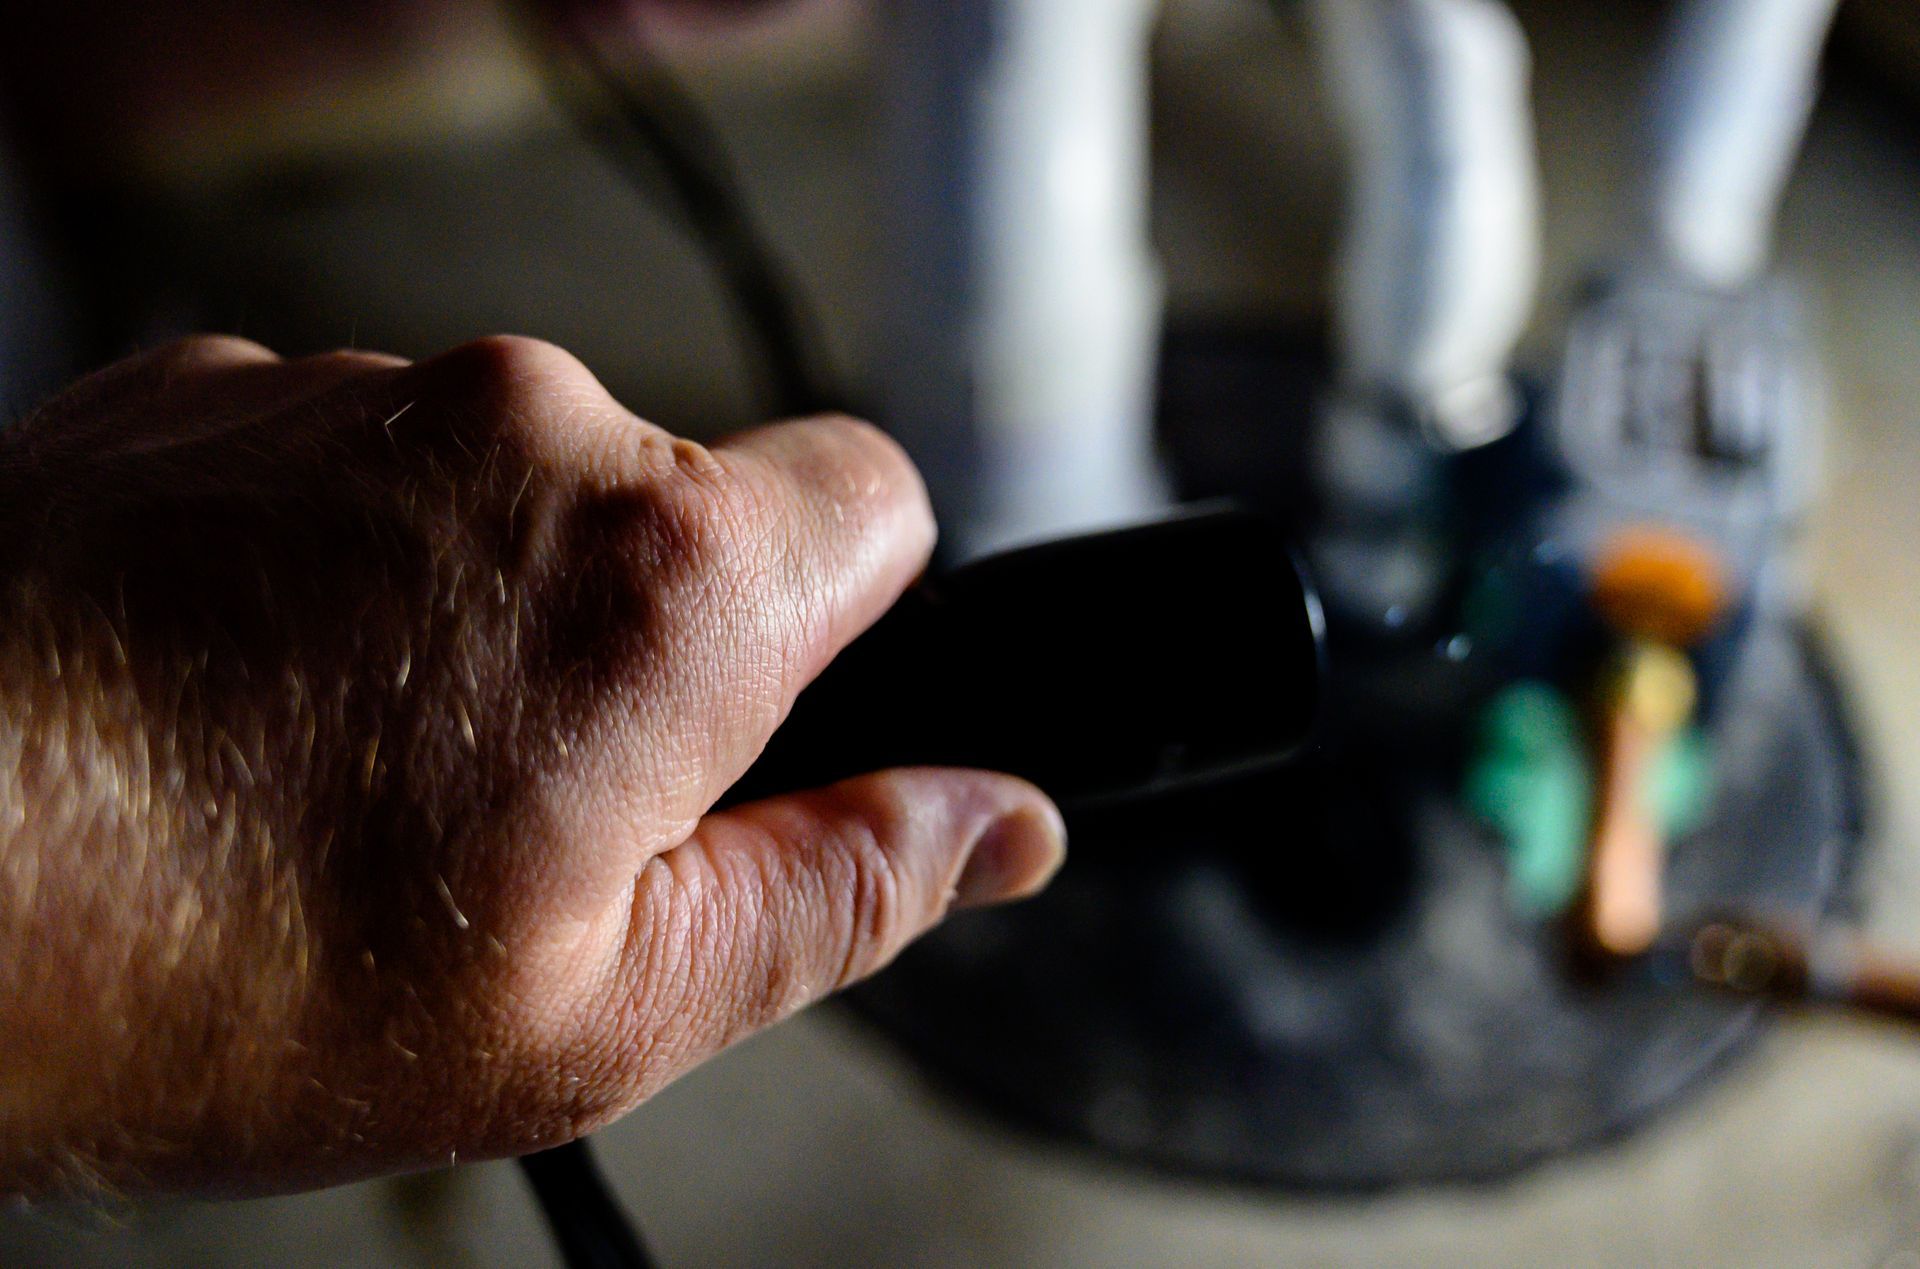
Ejector Pumps: The Unsung Heroes of Basement Plumbing
06 Dec, 2023
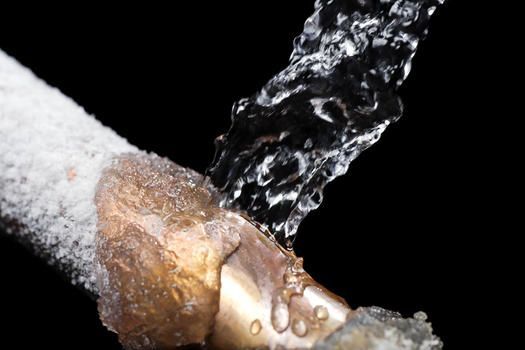
Frozen pipes can be a common issue, especially in cold climates during the winter months. When water in your plumbing system freezes, it can expand and cause the pipes to burst, leading to significant damage and costly repairs. Here are some key points to consider if you're dealing with frozen pipes: Identifying Frozen Pipes: If you turn on a faucet and only a trickle of water comes out, it may be a sign of frozen pipes. Check other faucets in your home to determine which pipes are affected. Look for visible frost on exposed pipes, as this can indicate freezing. Dealing with Frozen Pipes: Keep the faucet open to allow water to flow when the ice thaws. Running water can help prevent further freezing and pressure buildup. Apply gentle heat to the frozen area using a space heater, hairdryer, or heating pad. Start at the faucet end and work your way toward the blockage. Never use an open flame or high-temperature heat source to thaw pipes, as this can cause damage and create a fire hazard. Preventing Frozen Pipes: Insulate exposed pipes, especially in areas like basements, crawlspaces, and attics. Seal any cracks or gaps in your home's walls and foundation to prevent cold air from seeping in. Keep cabinet doors open in the kitchen and bathroom to allow warm air to circulate around pipes. Let cold water trickle from faucets on extremely cold nights to prevent freezing. Set your thermostat to a consistent temperature, even when you're not at home. What to Do if Pipes Burst: If a pipe has burst, shut off the main water supply immediately to prevent further water damage. Open all faucets to relieve pressure in the plumbing system. Contact a plumber to repair or replace the damaged pipes. Depending on the extent of the damage, you may need to contact your insurance company to cover repair costs. Seek Professional Help: If you're unable to thaw the pipes yourself or if you're uncertain about the location of the frozen pipes, it's best to call a licensed plumber for assistance. Preventing frozen pipes is the best approach, as it can save you from the inconvenience and expense of dealing with burst pipes. Regular maintenance and proper insulation can go a long way in ensuring your plumbing system remains functional during cold weather. 
19 Oct, 2023
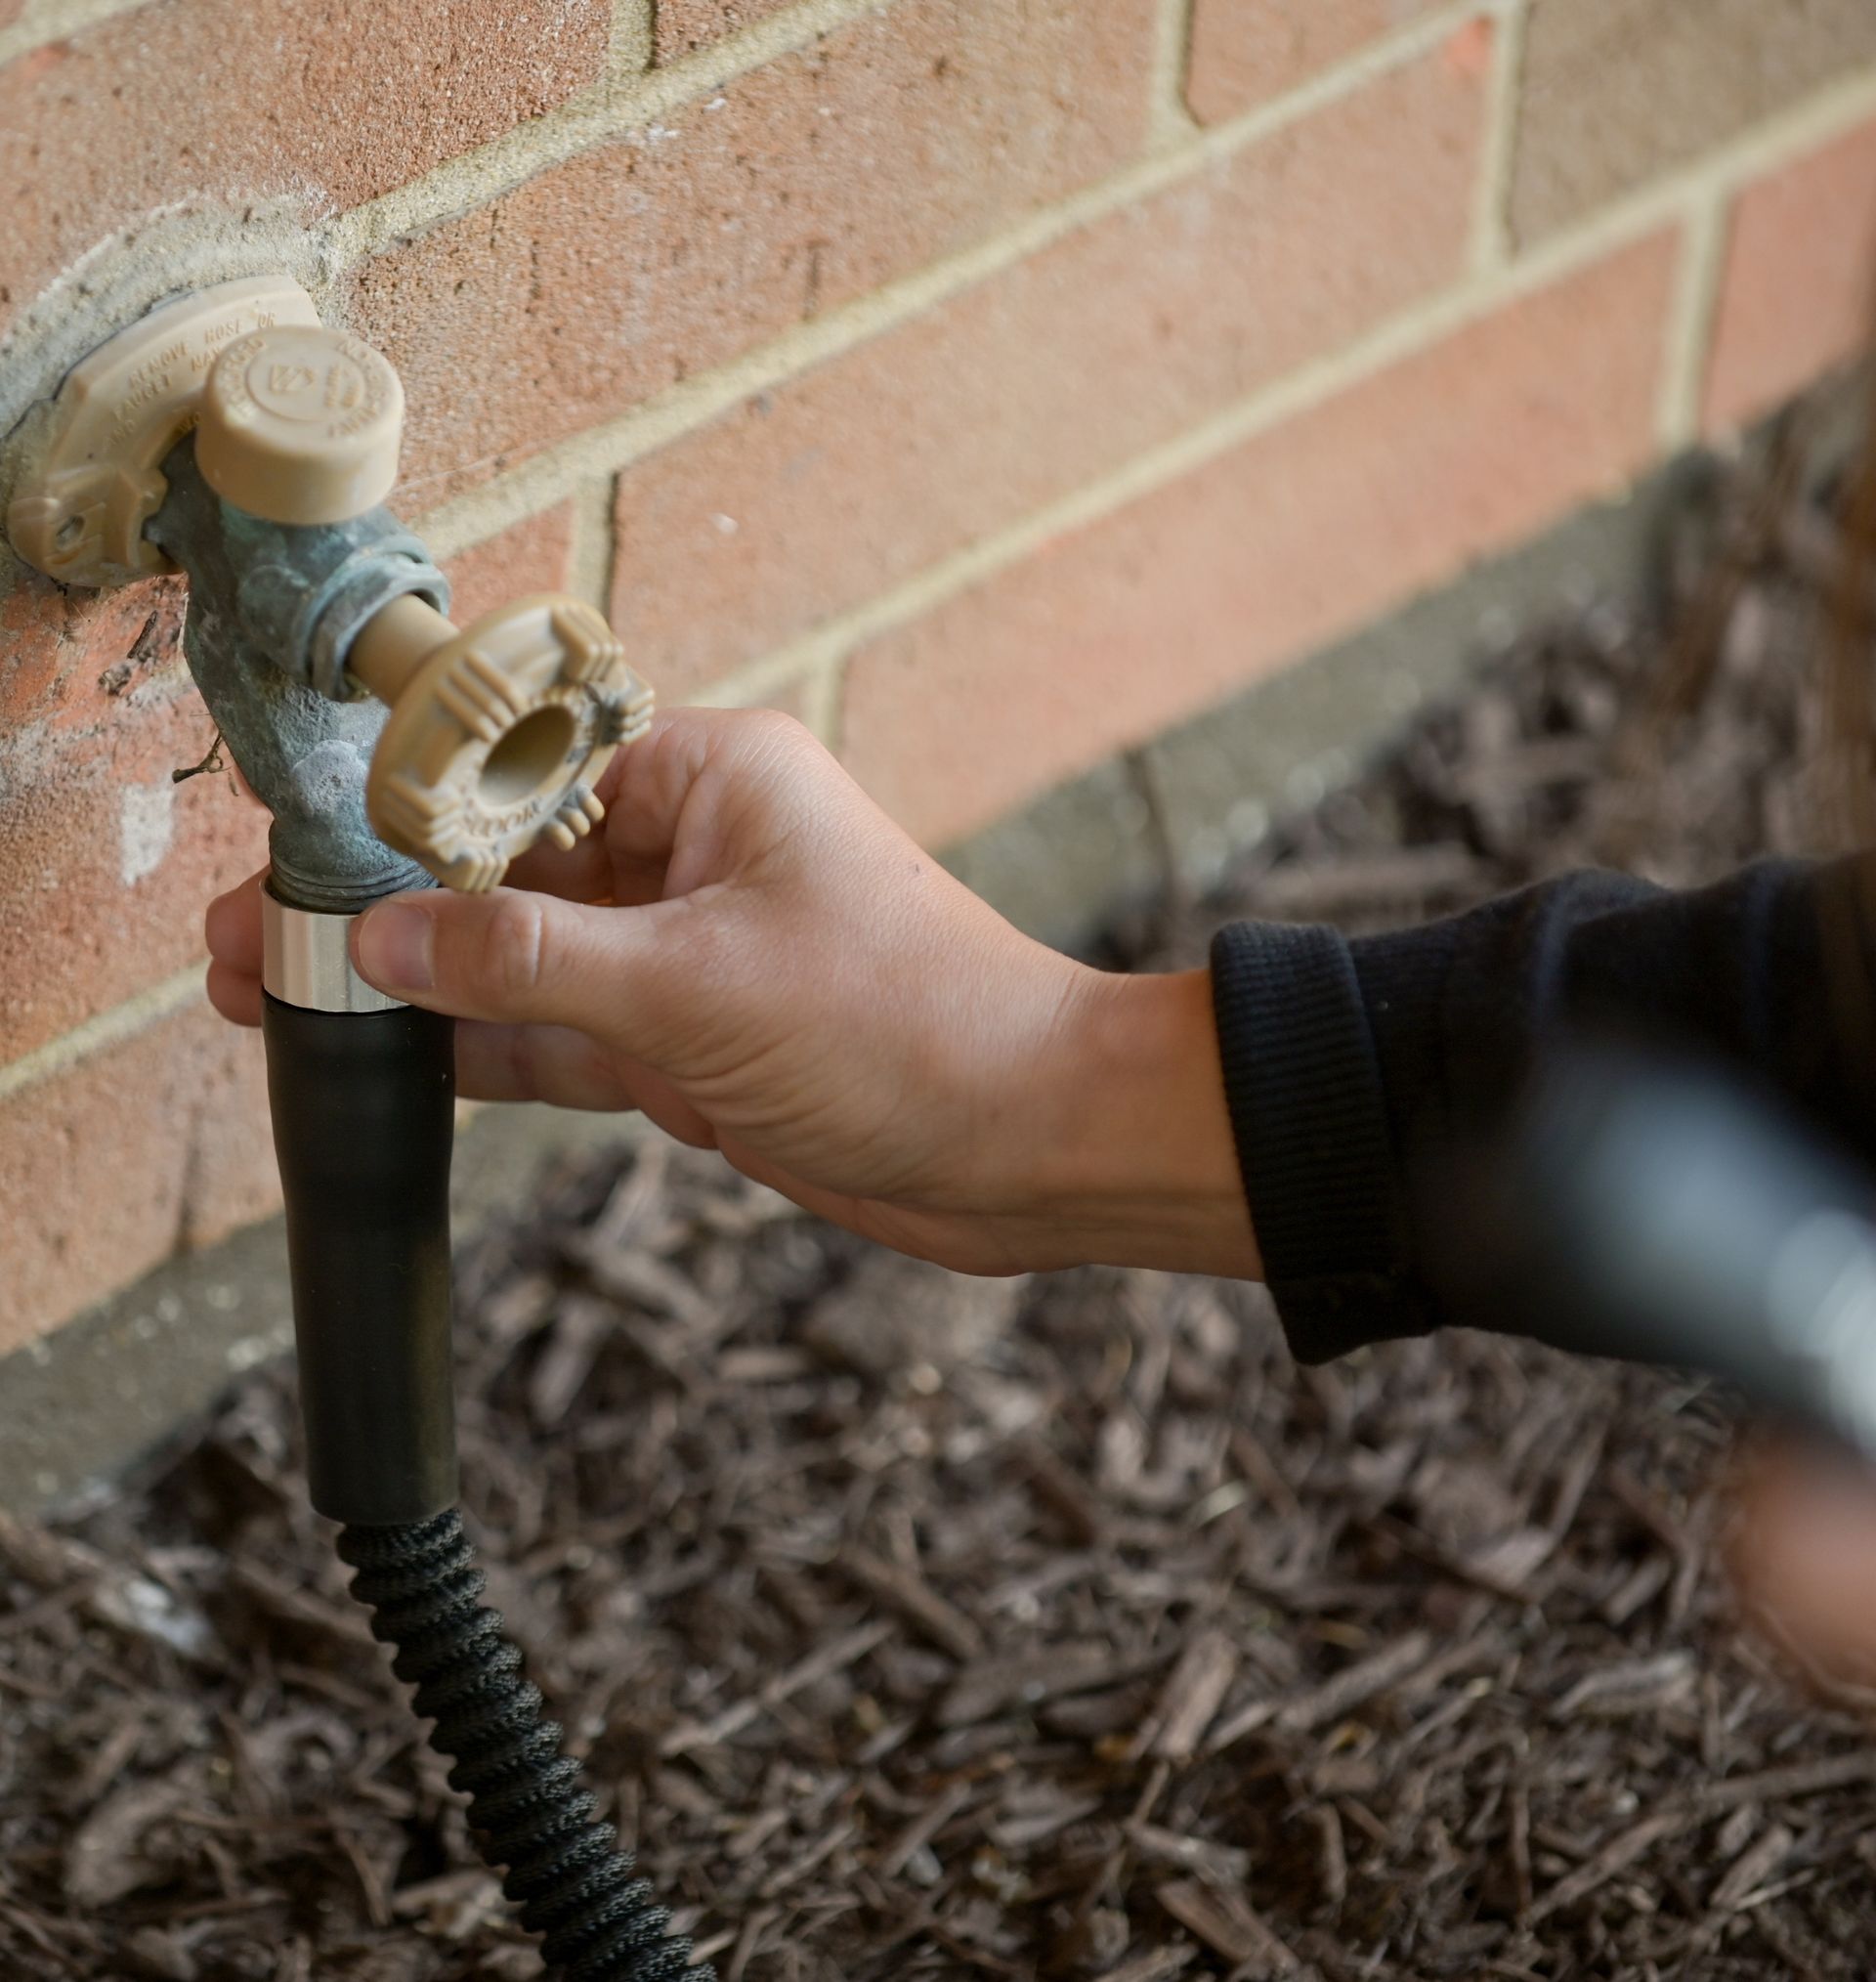
Hose Bibs
25 Sep, 2023
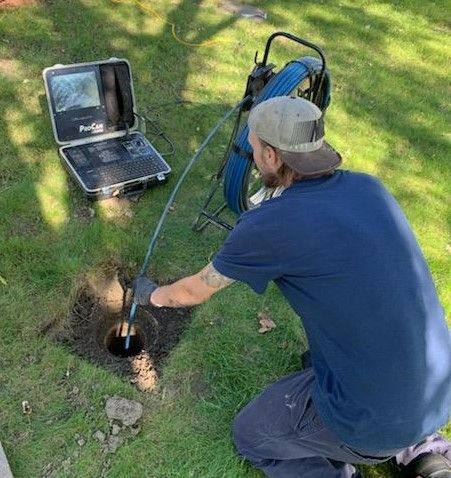
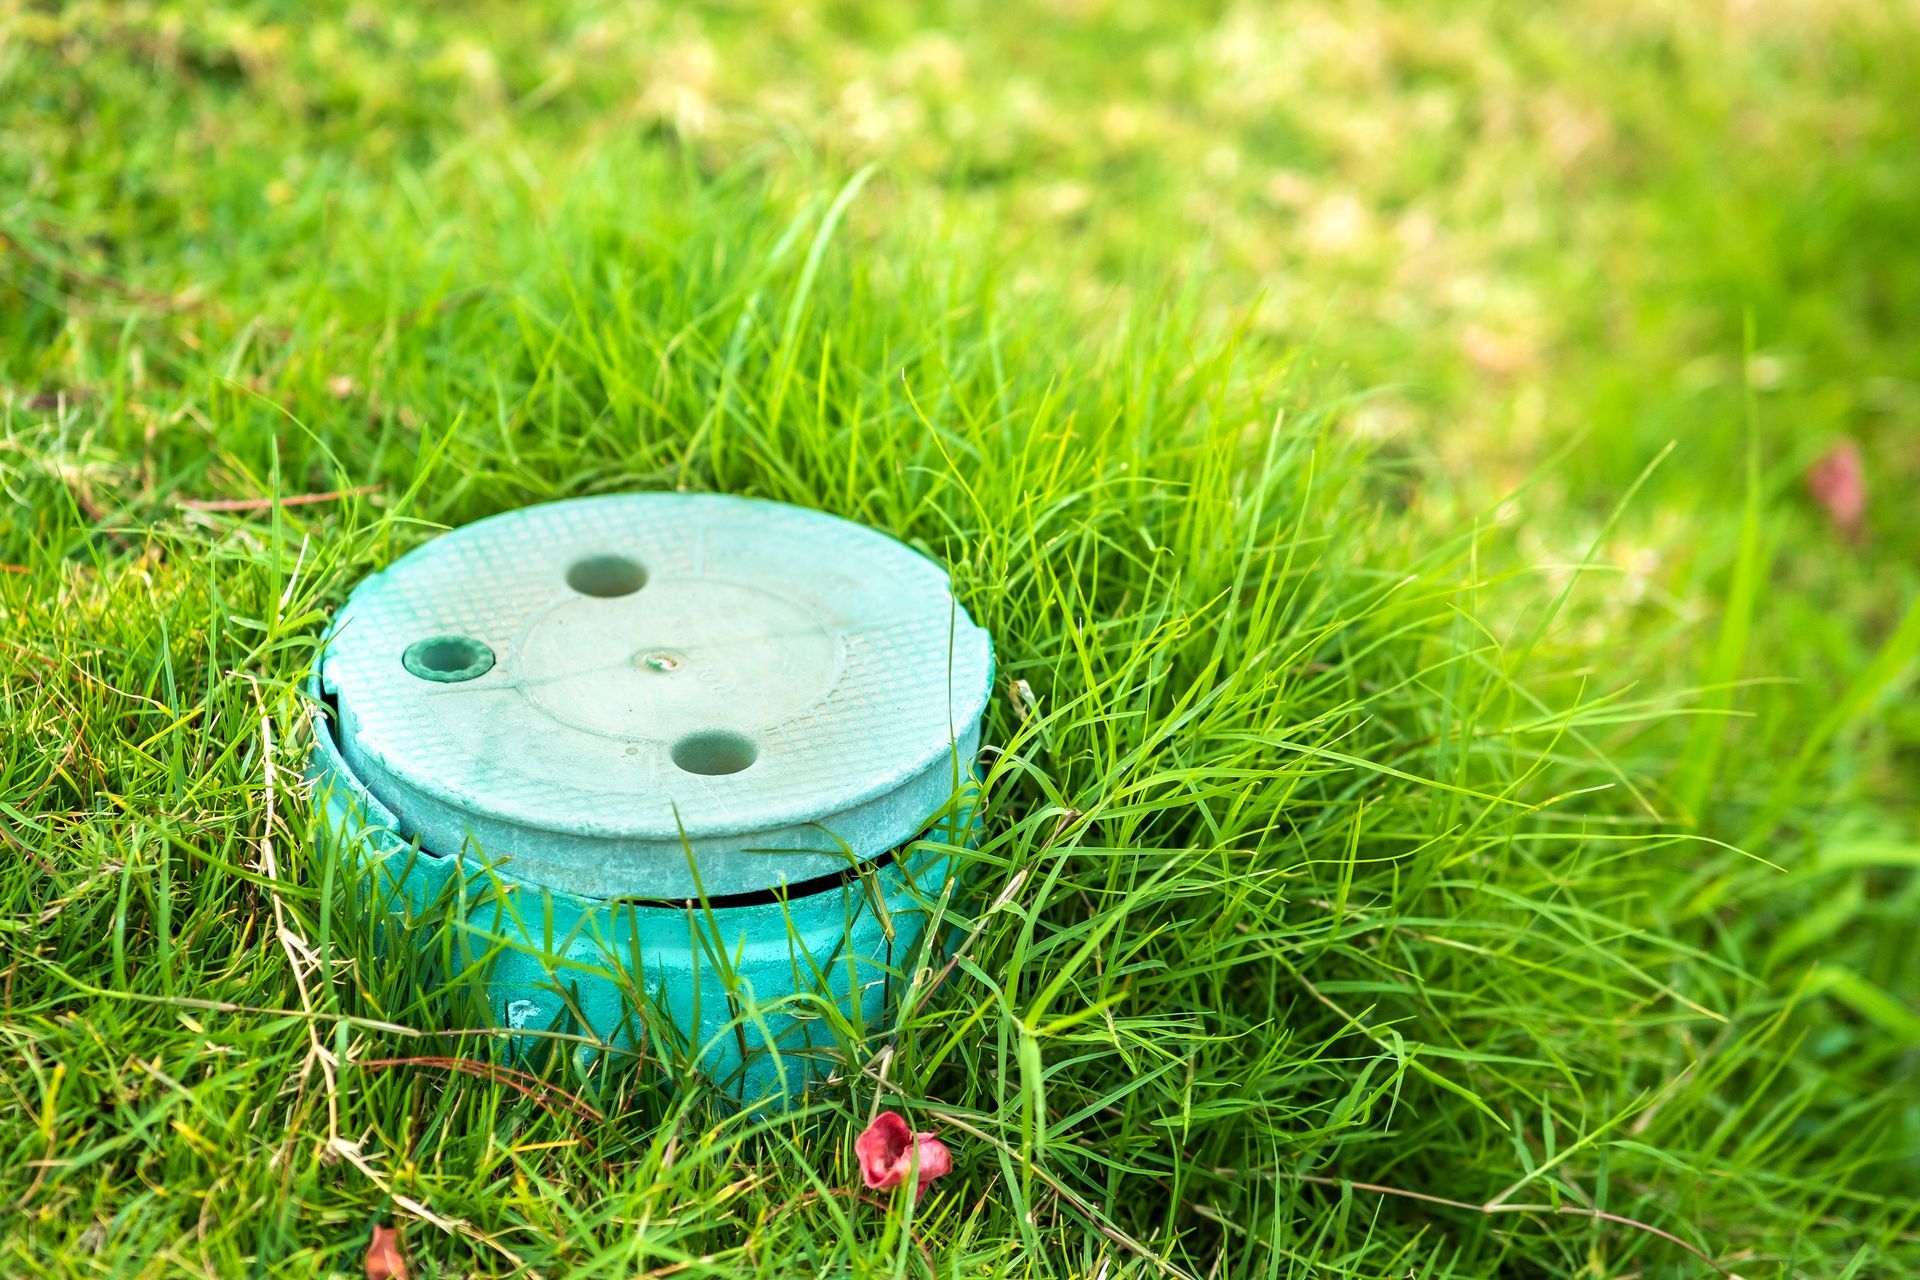
"The Essential Guide to Plumbing Cleanouts: What You Need to Know" Introduction Plumbing is an indispensable part of our daily lives, providing us with clean water for drinking, cooking, and bathing while efficiently removing wastewater. However, like any system, plumbing can occasionally run into issues, such as clogs and blockages. That's where plumbing cleanouts come to the rescue. In this comprehensive guide, we'll explore what plumbing cleanouts are, why they are essential, how to locate them, and how to perform a cleanout effectively. What is a Plumbing Cleanout? A plumbing cleanout is a critical component of your plumbing system designed to provide access to the pipes for inspection, maintenance, and clearing blockages. It typically consists of a capped pipe or an access point that connects to your sewer or drainage system. Cleanouts are strategically placed at key points within your plumbing network, making it easier to address issues that may arise. Why Are Plumbing Cleanouts Important? Clog Removal : Over time, debris, grease, hair, and other foreign objects can accumulate within your plumbing pipes, leading to clogs. Cleanouts allow for easy access to these blockages, making it simpler to clear them. Inspection : Cleanouts enable plumbers to inspect the condition of your plumbing pipes without resorting to invasive methods. This early detection can help prevent major plumbing problems down the line. Maintenance : Routine maintenance, such as hydro-jetting or snaking, can be performed through cleanout access points, extending the life of your plumbing system. Reduced Repair Costs : By addressing issues promptly through cleanouts, you can prevent more extensive and expensive repairs in the future. How to Locate Plumbing Cleanouts Finding your plumbing cleanouts is essential for effective maintenance and troubleshooting. Here's how to locate them: Check the Basement or Crawlspace : In many homes, cleanouts can be found in the basement or crawlspace. Look along the walls or near the main drain line. Search for Outdoor Access Points : For some properties, cleanouts are accessible from outside the house. Look for capped pipes protruding from the ground, which often indicate cleanout locations. Bathroom and Kitchen : In bathrooms and kitchens, cleanouts might be concealed under sinks or in cabinets. Check for removable panels or access points. Sewer Line : If your plumbing system connects to a municipal sewer system, there may be a cleanout near the sewer line. This is typically located in your yard. Consult Blueprints or Ask a Professional : If you're unsure about the location of your plumbing cleanouts, consult the original blueprints of your home or hire a professional plumber for assistance. How to Perform a Plumbing Cleanout Performing a plumbing cleanout may require some basic tools and knowledge. Here's a step-by-step guide: Gather Supplies : You'll need a wrench, pliers, a bucket, and a plumbing snake or auger. Clear the Area : Ensure the area around the cleanout is clear of any obstructions. Open the Cleanout Cap : Use a wrench or pliers to carefully remove the cleanout cap. Be prepared for any water or debris that may come out. Inspect and Clear Blockages : Use a flashlight to inspect the pipe for blockages. If you see a clog, use a plumbing snake or auger to clear it. Follow the manufacturer's instructions for the specific tool you're using. Replace the Cap : Once the cleanout is clear, securely replace the cap, ensuring it's watertight. Clean Up : Dispose of any debris in a trash bag and clean the area. Conclusion Plumbing cleanouts are essential components of your plumbing system that provide access for maintenance, inspection, and blockage removal. Knowing how to locate and use them can save you time, money, and frustration when dealing with plumbing issues. Regularly inspect and maintain your plumbing system through cleanouts, and when in doubt, don't hesitate to seek the assistance of a professional plumber to ensure the job is done correctly and efficiently. By understanding the importance of plumbing cleanouts, you can keep your plumbing system running smoothly for years to come.
By Michelle Giroux 18 Apr, 2023
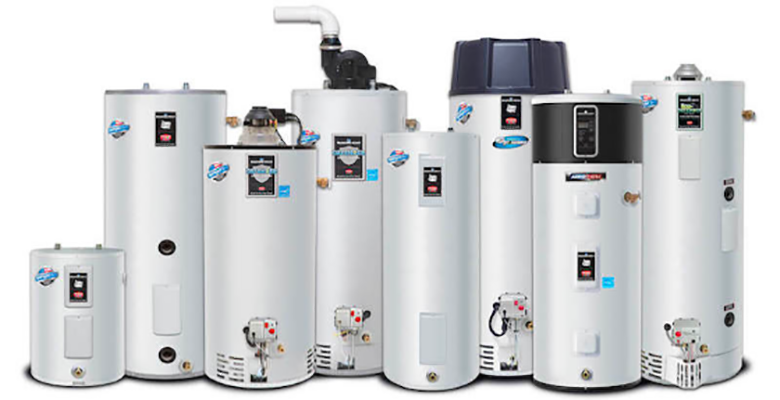
BRADFORD WHITE WATER HEATERS
More Posts
Share by: